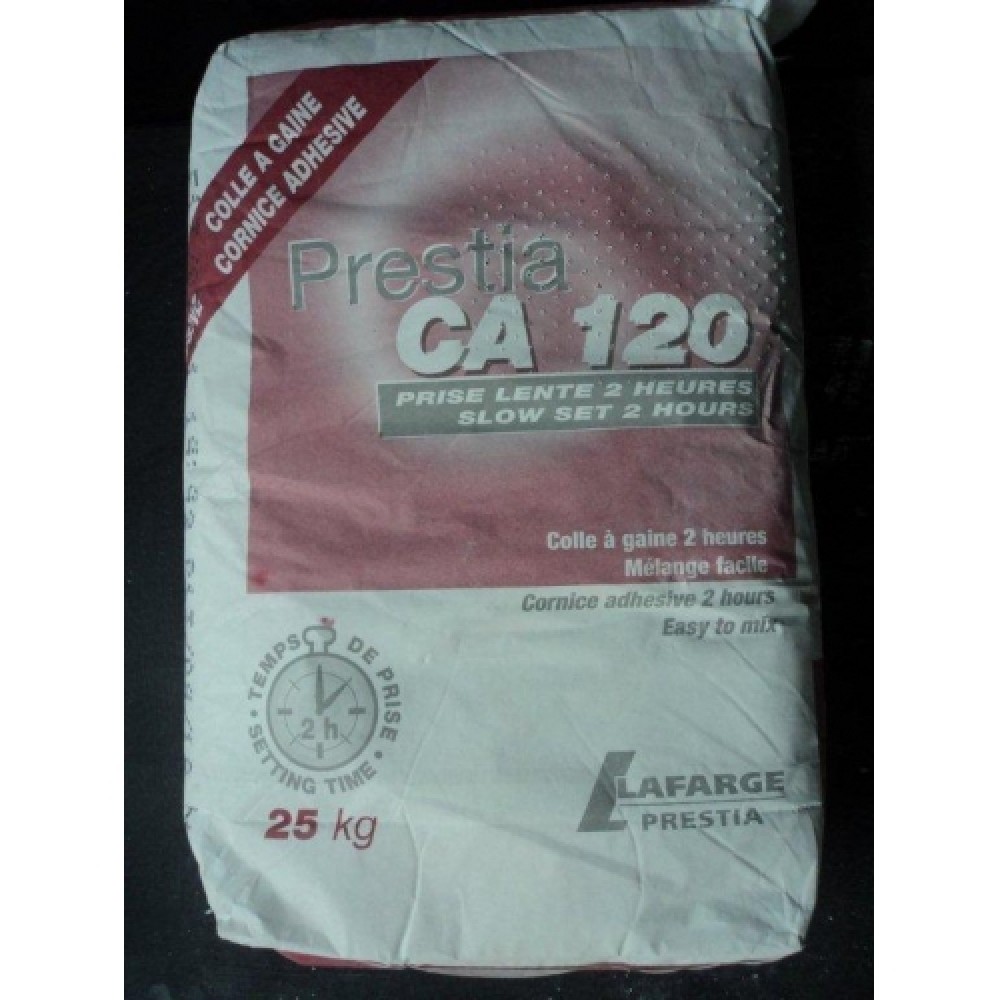
Adhesive 25kg
Your shopping cart is empty!
Product Description
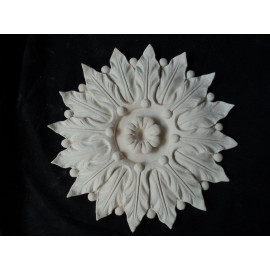
Trade adhesive ,used by specialists. Just add water and mix to a smooth paste .Make sure the surface is clean and free from dust ,if the surface has been painted mark around your item with a pencil,remove and" key" with a sharp knife ,this will expose the plaster background and give good adhesion from the item to the surface you are fixing to.Secure around the edges with some 30/40mm galvanized nails( leave enough of the nail protruding to remove after glue has set) and clean off the excess glue with a small brush and water. After 1hour remove the galvanized nails ,and use a very small amount of the glue to fill in around the item and fill the nail holes.
The product shouldn't be used below 5 C. Ensure that the background is free of dust, oil and dry. Always use clean tools and water. Pour water into clean bowl /bucket. Gradually add the amount of Prestia CA120 to be used within 1h45 min. Stir continuously. Mix to a smooth and lump free consistency. Stir the compound slightly before use. Spread a bed of Prestia CA120 along the full length and back of cornices or decorative panels. Press the buttered cornice firmly onto the wall and ceiling angle to force some adhesive out. Pin in position by temporary nails at the top and bottom edge of cornices. Clean off excess paste. Ensure that the compound is set and remove nails.
Use the excess paste for finishing operation.
Enough to fix 150m of cornice
2 hour setting time (in the bowl)
For best results stick onto new plastered walls.
For further advice please use our number in the contact /or homepage
